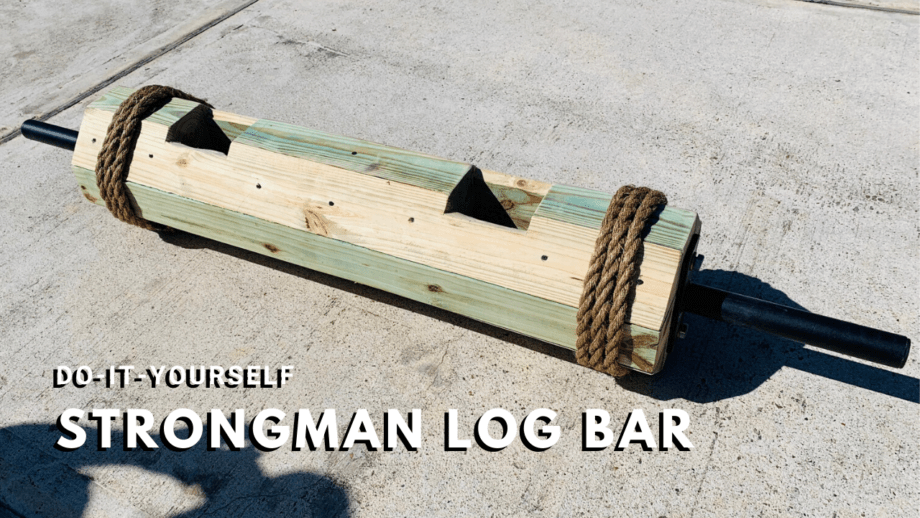
In this DIY Guide, we show you how to build a Homemade Strongman Log Bar for less than $75 for your home gym. Rather than spending $100’s of dollars on a piece of equipment that likely won’t see a ton of use, we suggest building one for much less.

A Strongman Log Bar is an essential piece of equipment for any strongman. The problem with most log bars is they’re either very expensive because of their weight, size, and materials or they’re difficult to make. In this DIY Guide on how to make a homemade log bar, we show you how to use standard treated 4″x4″ lumber that can be found at any local hardware store to create a great tool for any home gym all for less than $75 and an hours worth of time.
What is a Strongman Log Bar?

A strongman log bar is a piece of equipment that’s likely been around and in use for over a century. In fact, despite it having many different modern iterations made of steel, old-time strongman would use railroad ties and fallen trees for various pressing and squatting movements.
Today, with the explosion of barbell training and then by extension, specialty bar training, strongman log bars have seen a growth in both their use and the amount of companies making them. A Strongman Log Bar is traditionally used by those that compete or train for Strongman Events, but can also be seen inCrossFit WOD’s. Its purpose is as with any other specialty lifting implement and that is to increase the strength of the trainee by using an awkward piece of equipment.
If you’ve never used a strongman log, you’d be surprised how fun, yet difficult they can be to use. They’re fun because taking the log from the ground, to your waist, and then rolling it up your torso and chest to the front rack position, and finally pressing it overhead is a movement that can only be done with a log bar. You can’t replicate the movement with a thin,28MM Olympic Bar or even a multi-grip bar.
If you train for Strongman, you pretty much need a log bar as you’ll see it in competition. If you don’t compete in Strongman, a log bar is definitely unnecessary, but it is a fun tool to use and being able to make one for under $75 and an hours worth of work, makes it pretty appealing to add to your home gym.
Materials List
- 4 – 8’ Treated 4″x4″ Posts
- 2 – 10’ Pieces of Manila Rope
- 2 – 1”x6” Galvanized Pipe
- 2 – Wall Mounted Weight Plate Holders
- 4 – 3/8”x3” Lag Bolts (to attach plate holders)
- 5” Deck Screws
- Wood Glue
Tools Needed
- Miter Saw (Alternative: Hand Saw)
- Table Saw (Alternative: Hand Saw)
- Orbital Sander (Alternative: Sandpaper)
- Power Drill
- 1” Forstner Bit or Spade Blade
- Hammer
- Chisel
- Utility Knife
Build Instructions
Step 1. Cut 4”x4” Posts

Cut three of the 4”x4” posts in half to make six total 4’ pieces. This will allow you to make the required length while also making it easy to add in neutral grip handles.
Step 2. Cut Angles Into 4”x4” Posts

Of your six total 4’ pieces, four of them will remain square and two of them will be cut in half at a 45-degree angle.
In order to cut the two 4”x4” posts in half, we used a table saw with the blade set at a 45-degree angle. This is definitely the recommended method, although if you don’t have a table saw, you could carefully (and with a lot of sweat equity) use a handsaw to cut the pieces down the middle.
You will now have four pieces of uncut, square 4”x4” posts and four pieces that have been cut in half. The pieces that are cut in half will end up being used for the corners of the strongman log bar to make it comfortable to use.
Pro-Tip: One problem you may run into is the blade on the table saw not being able to run all the way through the wood. If this is the case, then you can make one cut, and then flip to cut the other side.
Step 3. Cut Square 4”x4” Pieces For Handles

Take two of the uncut 4”x4” square posts and cut three 18” pieces and six 9” pieces. These will end up being used for the middle section of the bar that will ultimately leave 6” for each hand hole.
Pro-Tip: We suggest using a Miter Saw for this, but you could get by with a hand saw.
Step 4. Mock Assemble the Bar
To give you an idea of what it will look like, we suggest doing a mock assembly of the pieces before gluing and screwing.
The configuration should look like this for each column:

Step 5. Drill Holes for Handles

This step is to allow the handles to be placed in the log bar.
Drill 1” holes on each of the 4” pieces to allow the handle to pass all the way through. Take your hammer and use it to force the handles into the 1” holes you’ve drilled. They will be tight, as they should be to prevent the handles from coming out.
Pro-Tip: For extra security, we suggest coating the holes and/or the pipe with wood glue for a tighter bond.
Step 6. Assemble By Gluing and Screwing

Now, using the previous diagram, glue and screw the pieces together each section at a time.
Pro-Tip: We suggest assembling it layer by layer in three different sections and then bring those all together.
Step 7. Attach Plate Holders

Taking the Wall Mounted Weight Plate Holders (you can also use some other brand, these are just the most budget-friendly, although they are a bit shorter than we prefer) attach them using the lag bolts to each end of the log making sure they are directly in the center.
Step 8. Chisel & Sand

In order to make the log as comfortable to use as possible, we suggest using an orbital sander with an aggressive grit across every sharp surface of the now created log bar.
Once sanded, we also suggest taking a chisel and making the hand holes as wide as you’d like depending upon how large your hands are to allow for comfortable wrist movement.
Step 9. Attach Rope

Using small wood screws, wrap the manila rope around each end of the bar a few times and then secure. This is to protect the wood when dropped and also provides a classic look.
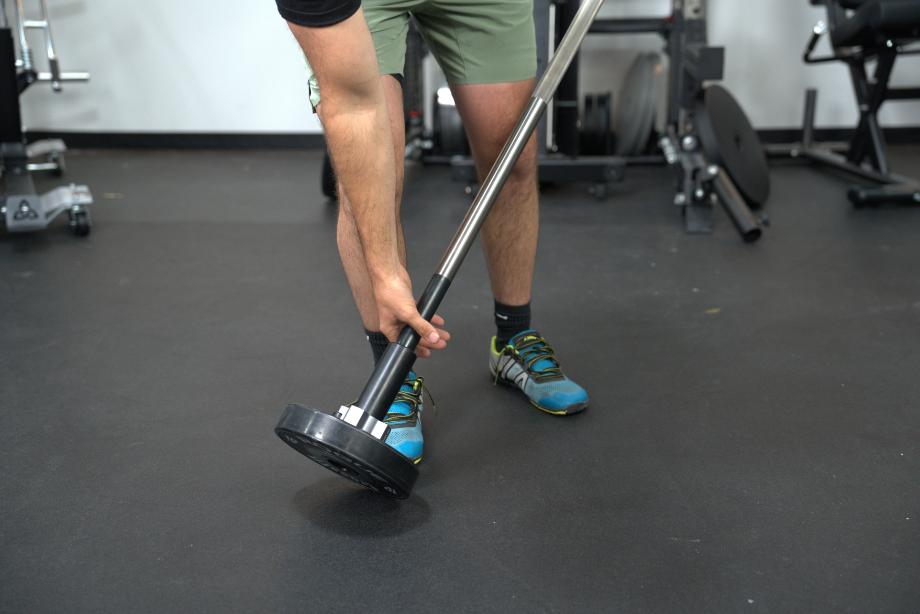
Step 10. Use It
There are a lot of different ways to use the log bar, but we suggest starting with the classic clean and press. Using it this way will also help you decide if you need to round off any of the other corners on the bar.
Recommended Alternatives
If this DIY Guide seems a bit too difficult for your skill level, but you still want a Strongman Log, then there are definitely options available for purchase.
Best Budget Strongman Log
Titan Strongman Log Bar
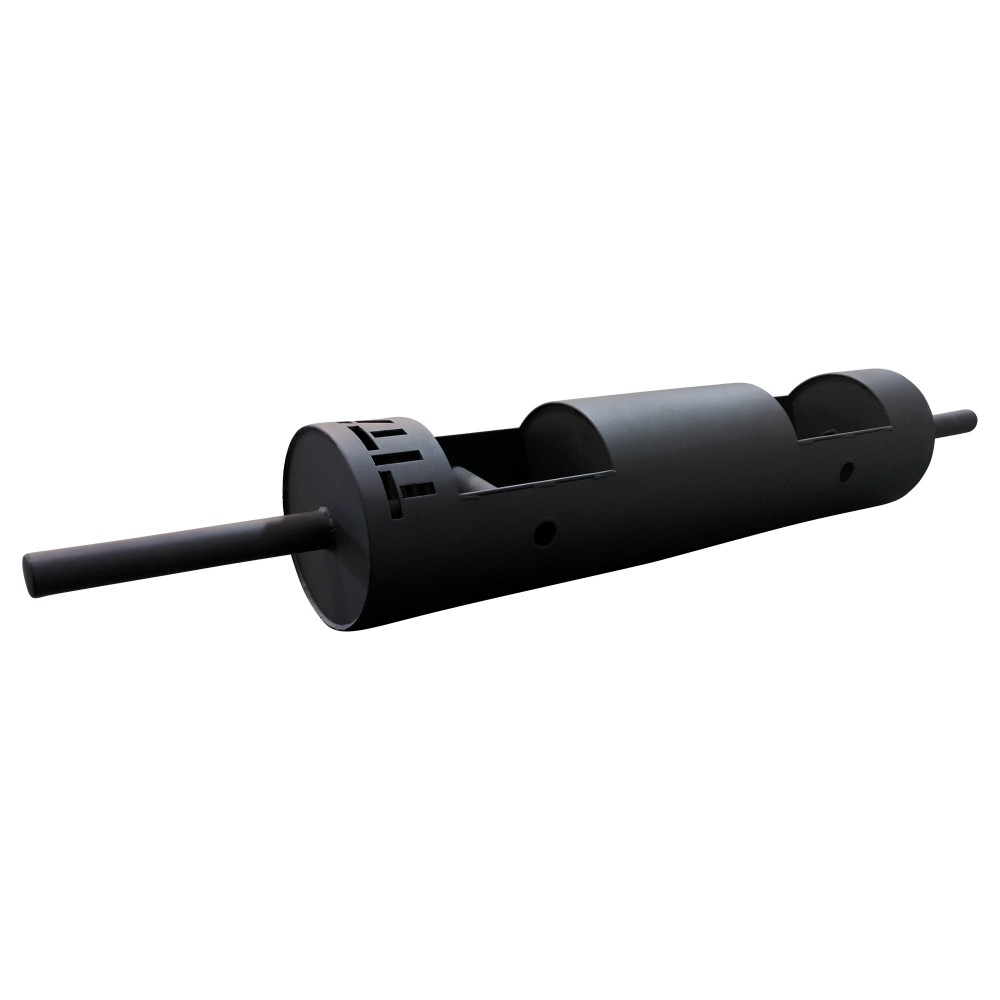
Product Highlights
The centerpiece for Strongman training and competitions – The Log Bar. Loadable sleeves and neutral hand grips centered in the log.
Pros & Cons
Bottom Line
The best value strongman log is the Titan 10″ Strongman Log Bar V2. This is the one we have used, tested, and reviewed and although it’s not as refined as some other companies, it gets the job done at a great price and is even used in many Strongman events.
Best Strongman Log
Rogue LB-1 10-Inch Log Bar
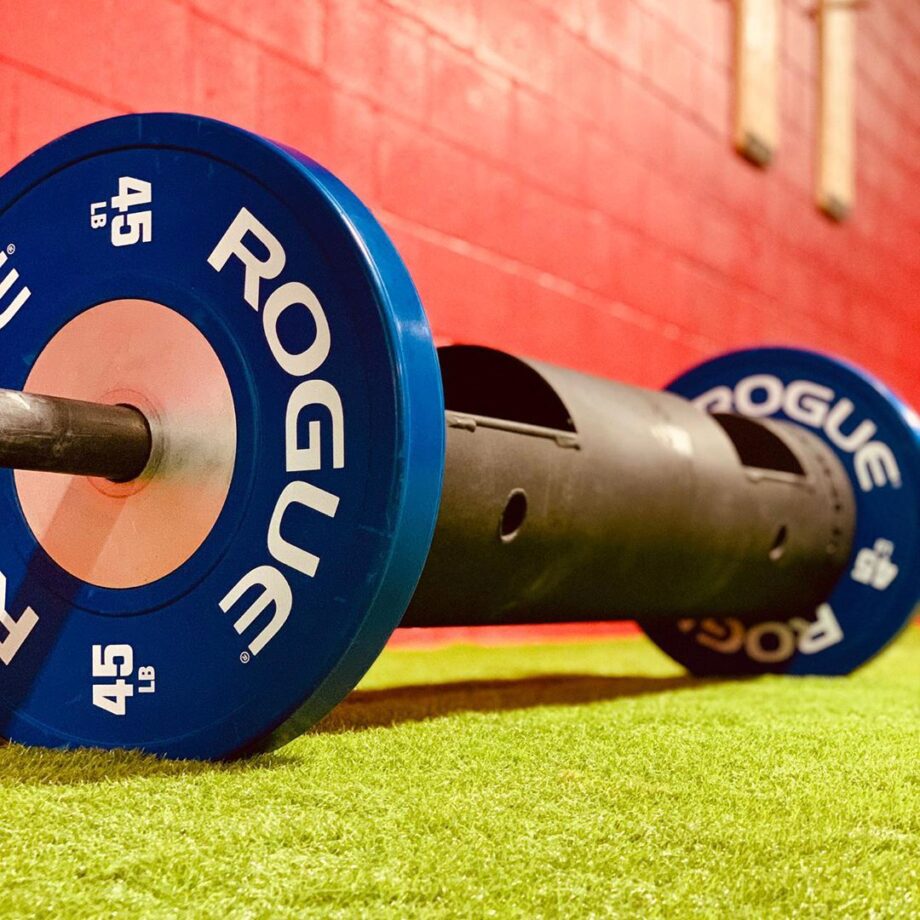
Product Highlights
One of toughest strongman tools available, the Rogue Log is specialized for training the holy grail – max strength. The neutral grip is lower stress on the shoulders for all the pressing movements.
Pros & Cons
Bottom Line
If you want to an upgrade in quality from the Titan Log Bar, the Rogue LB-1 Log Bar is made in the USA and is a typical Rogue product. Overbuilt, heavy, and made to last through just about any workouts you plan to use it in.