What You Need to Know When You Hit the Weights So They Don’t Hit Back
You know how before you do anything awesome, like skydiving or paintballing, there’s always some bore rambling about safety procedures and stuff? What a buzzkill, am I right?
Wrong! Safety is very important and, when you’re at the gym doing some heavy weightlifting, it could be the difference between nailing PRs or being carted out of the gym on a gurney.
That’s why we put together this guide to barbell safety because, while crushing it at the gym totally rocks, you can get seriously hurt if you’re too lax on the safety. These tips might save your skin, especially if your go-to weightlifting venue is your home gym where there’s not a soul in sight to spot or assist you if a situation develops.
I’ll do my best not to be a total bore about it too.
1. Ensure Your Area Is Clear of Clutter
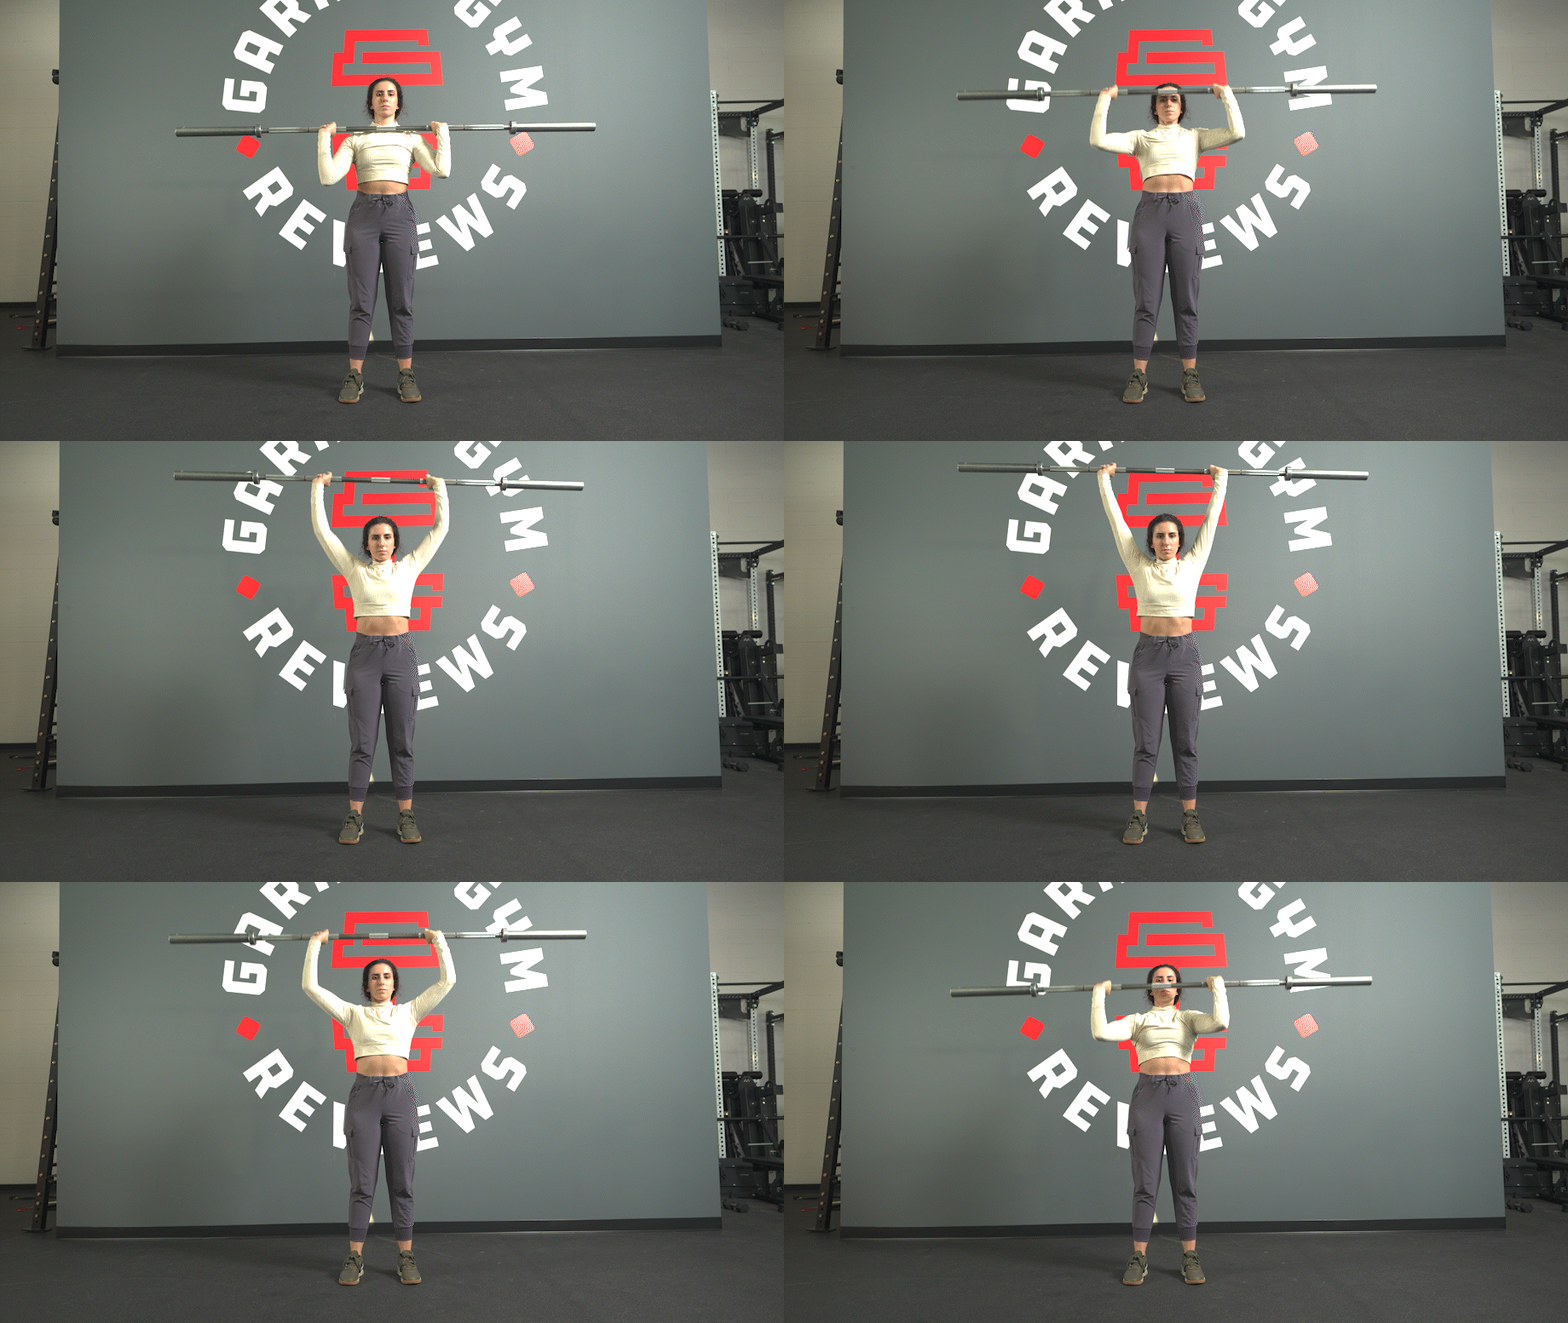
First things first: Declutter your workout space. Anything around that doesn’t serve a functional purpose or, I don’t know, “spark joy” should be removed from the area so you’re free to move around uninhibited.
Smashing a PR on a back squat is epic, but smashing your head on a plate tree because you tripped over an ab roller while backing away from the rack is incredibly un-epic.
2. Double-Check Your Equipment Components
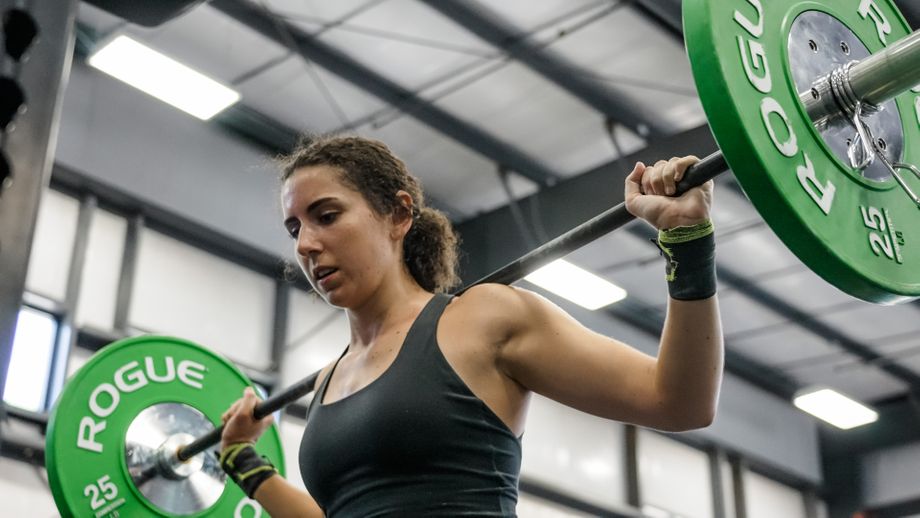
Before you slap on your lifting belt, put on your inspector hat and take a look at the fitness equipment you’re about to use. A barbell is a basic piece of equipment, but there are some specific things you want to keep an eye out for.
Look for rust. If it’s on the shaft of the bar, smooth to the touch, and doesn’t rub off on your hands, it’s called a “patina” and it’s totally normal. Rust on any part of the loadable sleeve length or the bolt at the end of the bar, on the other hand, is no bueno. This might indicate the inside has begun rusting and could be a problem. Sleeves that don’t spin easily or at all are also a sign of internal rust.
No worries—most Olympic bars are easily disassembled and cleaned.
Related: How To Clean A Barbell: A Guide To Bringing Back That New Bar Shine
While you’re giving the bar the ol’ once-over, take a look at the knurling. For those who aren’t “in the know,” that’s the crosshatch pattern on Olympic barbells that increases friction between your hands and the bar, improving your grip. The knurling will wear out over time and, once it does, the bar becomes more likely to slip from your hands mid-lift. This might not be problematic during a deadlift or high-bar squat, but it could be catastrophic during a snatch or overhead press.
Don’t focus all your attention on just the barbell though. You want to take a look at the squat rack too and make sure everything is copacetic before you get to lifting.
Check the safety pins, safety bars, and all spotter arms to ensure they’re set properly and secure. If the rack features removable or adjustable J-hooks, you’ll want to double- and triple-check they’re in place, as setting a heavy barbell on a loose hook would certainly spell disaster.
You don’t have to perform a full-on OSHA inspection every time you lift, but you should be checking these things semi-regularly and addressing them as needed.
Related: The Most Comprehensive Guide To Squat Rack Safety Ever
3. Use Barbell Collars

If you’re doing a low-and-slow lift like the deadlift, you may get away with keeping collars out of the equation.
However, it takes like two seconds to fasten one to each end of the barbell, so it’s really egregious to go without them. Without collars, you risk spilling the weight off one end of the barbell and, while falling weight plates are dangerous enough already, the other end will fly toward the floor and propel you in that direction like you’re Wile E. Coyote from the Looney Tunes.
Seriously. Just slap the barbell collars on the sides of the bar. It’s worth the cumulative four seconds of time you’ll spend.
Related: The Best Olympic Barbell Collars For 2025
4. Wear Proper Lifting Shoes
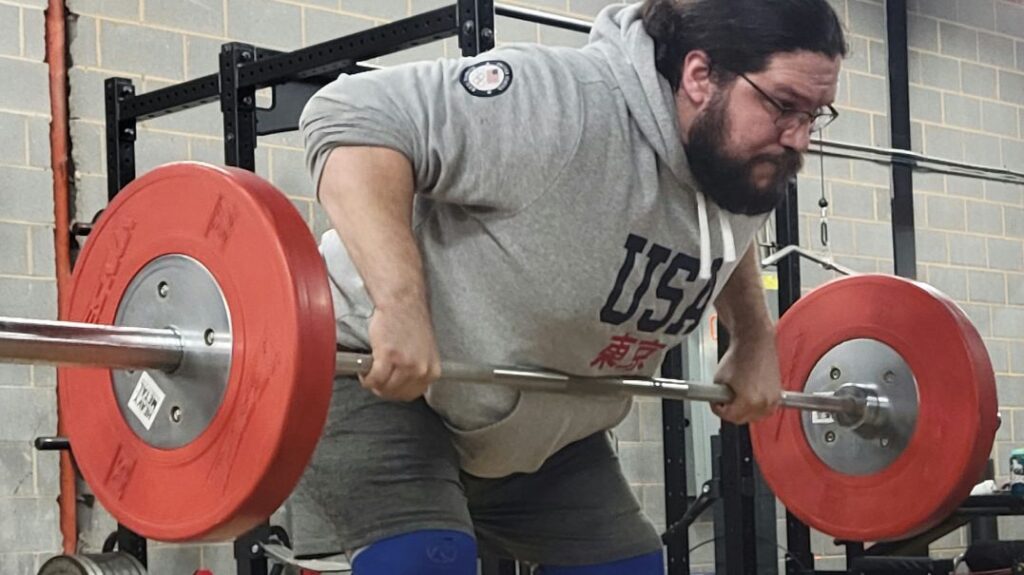
Proper lifting shoes are more than just a stylish choice in the gym. They’re also one of the most overlooked pieces of equipment you could use to maximize the impact of your barbell training.
How do these specialized shoes really help translate to better, safer lifting?
It’s all in the design and construction. For starters, weightlifting shoes incorporate an elevated heel, which increases the range of motion of your ankle and allows for a deeper, more upright squat position.
In addition, the soles are thin, wide, and hard. This helps provide a stable base and minimal shock absorption, so when you drive from your heels to stand up from the bottom of the squat, you’re getting all that power and losing none from the sole of the shoe.
It’s a simple but effective way to improve your lifts. If you haven’t been wearing weightlifting shoes so far, try them out and thank me later. I accept cash, check, and money orders.
Related: Best Weightlifting Shoes In 2025: Top Picks From Nike, Adidas, And Reebok
If you’re not doing the Olympic lifts or squats–and instead are focusing on exercises like lunges or upper-body isolation moves you can also wear a variety of different types of training shoes.
5. Have a Spotter
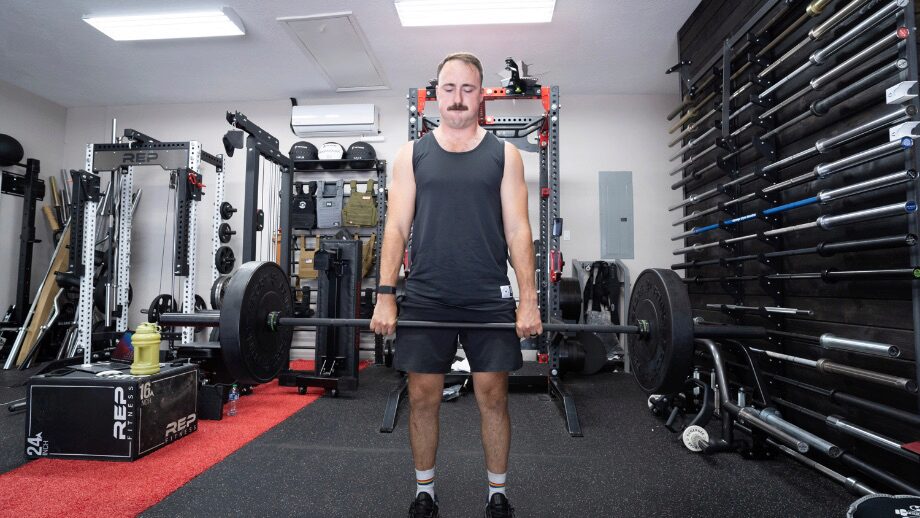
Need a good reason to have a spotter nearby? I’ll give you three.
The first and most obvious reason is that they’re there to have your back if things go south. They’re there to grab the barbell if you bite off more than you can chew on a heavy bench press. They’re there to help you get through the sticking point of your squat if you’re getting stuck at that one spot.
They’re there to help you push through when you’re so close but just not there yet, but they’re also there to offer fitness feedback. Even if you have a mirror in your workout space, you can’t focus on the lift and watch your form simultaneously. A spotter will be there to see what you’re doing during the lift and offer feedback to help you optimize your biomechanics and adjust to really nail the next try.
That’s two reasons right there. The third and final reason—support! Sometimes the difference between setting a new PR and getting psyched out and bailing out is having a personal cheerleader ringside for the action. A good friend and spotter will help give you confidence and fuel your victory with their encouragement.
Is there any downside to having a spotter?
Well, I guess they might ask for a free scoop of pre-workout. That stuff is expensive, but it’s a small price to pay for safety, feedback, and support, though, isn’t it?
Related: The 14 Best Pre-Workouts Of 2025, According To A Ph.D.
6. Don’t Lift More Than You Know You Can Lift (Without a Spotter)
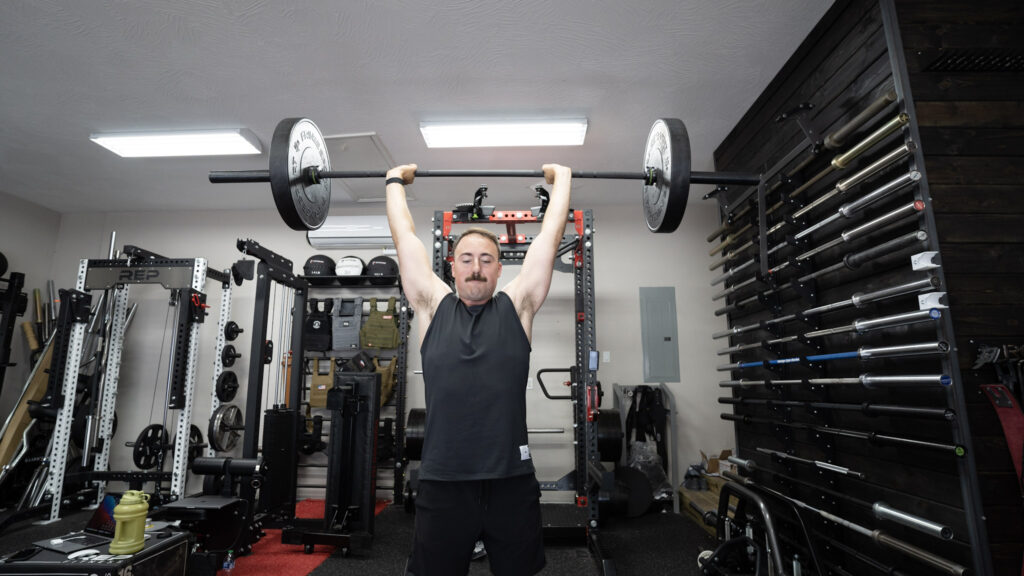
There’s a fine line between pushing yourself to PR and setting yourself up for injury. Consider how much you’re lifting during your standard working sets, how much you successfully lifted for your last PR, and scale appropriately from there.
Big jumps are big risks that frequently don’t pay off. Try beating your best in smaller increments and, if you’re feeling good and strong, add just a little more.
If you’re not sure how much to tack on for each attempt, consult a qualified personal trainer or coach. Always work smarter, not harder.
Related: Beginner Barbell Workout: Learn The Basics
7. Use Proper Technique for Each Lift
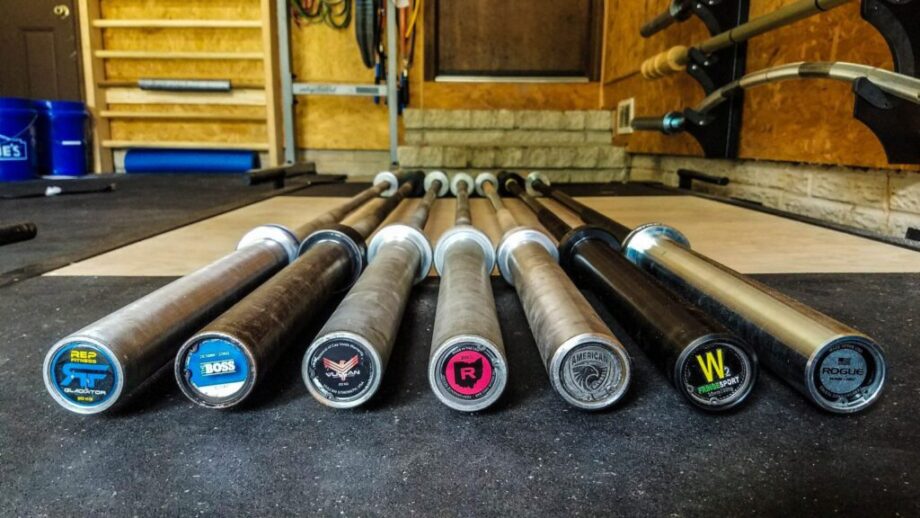
It’s time to give yourself some brutal honesty. Do you actually know and use the proper technique for each lift?
It’s not too hard to watch YouTube videos and craft a picture-perfect barbell squat with practice and attention to detail, but Olympic lifts like the snatch won’t be as easy to just glance at a guide and give it a college try.
We recommend working with a qualified personal trainer to learn the proper technique for the more complicated lifts and, as you build a strong foundation, it will be easier to implement proper technique when riding solo in your garage gym.
Practice makes perfect, but if you’re practicing poor form, you’ll only reinforce bad habits that are hard to break down the line and increase your risk of injury.
8. Reduce Distractions Around You
What one person finds distracting, another might not. That’s why action heroes in movies never turn around to look at the explosion behind them. They’re laser-focused, and that’s what you want to bring with you when you’re lifting.
When you pick up the barbell, put down the fidget spinner and get in the zone. Pause your Netflix series. Quit the chit chat. Make all nearby children and pets stand clear if you’re lifting in a home gym.
Distractions while lifting are like distractions while driving. All it takes is one moment of divided attention for things to go south fast.
9. Use Safety Aids as Necessary
If you were a schoolyard rebel growing up, averse to bicycle helmets and seatbelts, good on you for (presumably) not suffering a significant injury leading up to your adulthood, but was it really worth the risk?
Life and livelihood are fragile, and it’s worth it to take steps to protect ourselves, especially when engaging in inherently dangerous activities like barbell training and heavy weightlifting.
That’s why there are innumerable safety aids available to make weightlifting safer. The most common safety aids include:
- Safety pins
- Safety bars
- Spotter arms
Regular lifters also use a variety of accessories and tools to reduce risk of injury or assist them during certain lifts. These accessories include:
- Weightlifting belts
- Weightlifting gloves
- Weightlifting shoes
- Wrist wraps
- Lifting straps
- Knee sleeves
- Elbow sleeves
Not ready for a huge investment in workout gear to maximize your impact in the gym?
No worries. Applying chalk to your hands before you lift is a quick and inexpensive way to make barbell training just a touch safer. Chalk helps dry sweaty hands and increases your grip. To some powerlifters and bodybuilding enthusiasts, it’s an absolute essential.
Related: The Best Budget Barbells To Break PRs, Not The Bank (2024)
Make sure to double-check your gym’s policies regarding chalk if you plan to bring it into a commercial gym. Some places completely prohibit chalk.
10. Get Cleared by a Doctor if You’re Injured
Whether you’re aggressively into powerlifting or casually lifting once or twice a week, it’s prudent to visit your doctor if you’re having aches and pains beyond general exercise-related soreness.
Nagging injuries, especially those in your joints, might indicate more than just muscular microtears. It could mean you are medically unfit to continue training at the level you’re accustomed to.
Listen to your body and always check in with your doctor to make sure your plan won’t put you directly in harm’s way.
11. Learn Bailing Techniques
As they say, “If you haven’t failed, you haven’t tried.”
Setting PRs requires strength and courage because, let’s be real here, you are not going to successfully complete every lift you try. There’s nothing wrong with that. Failure is part of the process.
In the event you do happen to get stuck at the bottom of the squat or totally botch your next attempt at a heavy clean, it’s crucial to know how to bail out of the lift and let the barbell go so you live to train another day.
The technique will vary depending on the specific lift, as will where the bar winds up once you let go. If you’re lifting in a luxurious, comprehensive power rack with all the bells and whistles, you’ll be able to safely let the bar fall onto the safety bars alongside you in every direction.
If you’re lifting using a squat stand or something else low-profile, you’ll have to get comfortable with dropping the barbell to the floor. It takes a little practice, and we recommend learning and practicing with a qualified trainer or coach, but it’s very handy once you get the hang of it.
To save your precious flooring, we recommend using bumper plates. Whereas standard cast iron weight plates will annihilate whatever you drop them on, bumper plates simply absorb that shock and bounce ever so slightly off the floor.
Trust us. Bumper plates are the way to go when bailing out of a lift. Period.
Related: How to Bail Out of a Squat: A Guide to Keep You Safe
12. Load and Unload the Bar Evenly
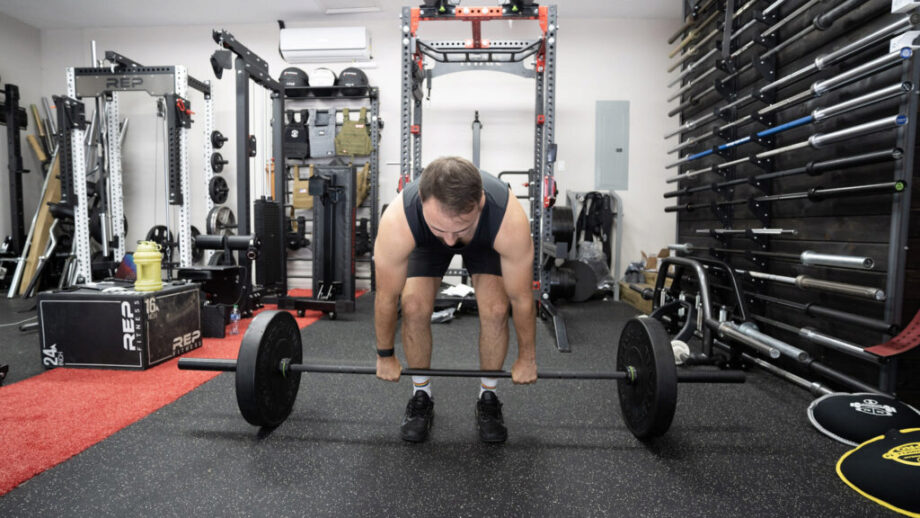
Of course, you can’t place a plate on both sides of the barbell simultaneously. When loading the bar, however, you do want to make sure you’re loading and unloading it evenly by alternating what side you’re loading and using identical weight on each side.
Placing a 45 on the left? Okay, now put a 45 on the right. Adding a 20 on the left next? Okay, put a 20 on the right. Alternate the sides when you remove the weight too or you’ll risk the barbell tumbling from the power rack’s J-hooks and possibly onto your toes.
It’s simple physics, but you’d be surprised how often this simple safety measure is overlooked.
13. Don’t Ignore Your Body
Above all else, listen to your body before, during, and after each lift. If something feels off, stop.
Dedicated fitness enthusiasts and athletes often try to push past pain in pursuit of their training goals, but working through a potential injury will often exacerbate the issue and result in more training time lost in the long run.
If you feel like something is wrong, chances are you’re right. Don’t risk your health and well-being for a PR today if it potentially means weeks or months of recovery tomorrow.
Barbell Safety: Final Thoughts
As they say, “An ounce of prevention is worth a pound of cure.”
Working smarter rather than harder in the gym is always the best way to go. Taking measures to stay safe guarantees you’ll be in the gym day after day chasing those fitness goals and enjoying your best and healthiest life.
Good luck out there, and stay safe!
Barbell Safety: Q&A
Are dumbbells and kettlebells safer than barbells?
Dumbbells and kettlebells are safer than barbells in some aspects. For instance, there is little to no risk of being pinned underneath a dumbbell or kettlebell, whereas a barbell can certainly pin you.
On the other hand, barbells tend to bounce predictably when dropped, whereas dumbbells and kettlebells bounce and could crash into your poor ankles.
Each has inherent risks. Exercise caution when using free weights of any kind.
Related: Best Dumbbell Exercises
Are safety squat bars safer to use for squats than Olympic barbells?
There are many kinds of weightlifting bars on the market. The safety squat bar is a specialty bar with a camber on the ends and forward hand grips in front.
In some ways, the safety squat bar is a safer alternative to the tried-and-true Olympic barbell when it comes to back squats and front squats.
For starters, the safety squat bar allows the user to maintain a more upright position, which relieves tension on the lower back. Safety squat bars also incorporate forward hand grips, which help folks with limited shoulder mobility to lift safely.
For lifters with lower back issues and limited shoulder mobility, safety squat bars are an excellent alternative to the Olympic barbell.
Related: The Best Safety Squat Bar
Are there machines that offer a safe alternative to barbell training?
Generally speaking, you get more bang for your buck working with free weights like barbells, dumbbells, and kettlebells. However, some machines do effectively simulate barbell training with greater safety measures incorporated.
Smith machines, for example, basically take a barbell and affix it to a vertical track, guaranteeing a straight bar path each rep. They also use guards that will catch a falling barbell in the event you can’t complete the lift.
There are many machines available in most commercial gyms to provide alternatives to standard barbell training, but nothing beats the versatility of a good barbell and squat rack combo.


