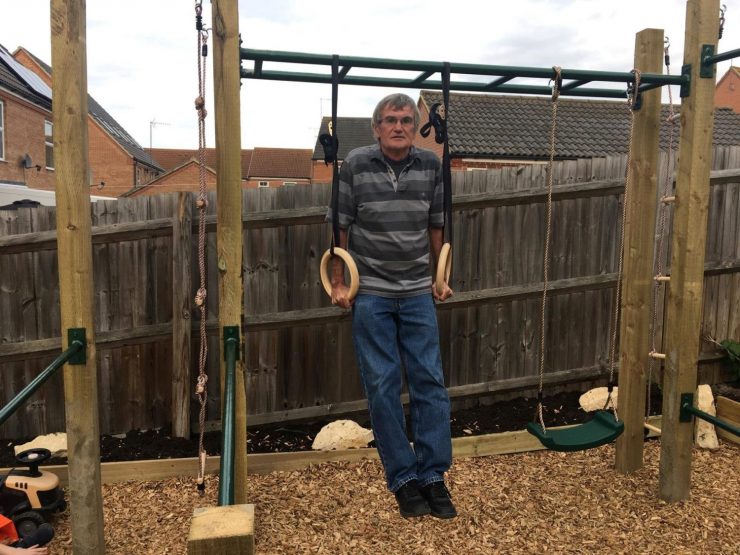
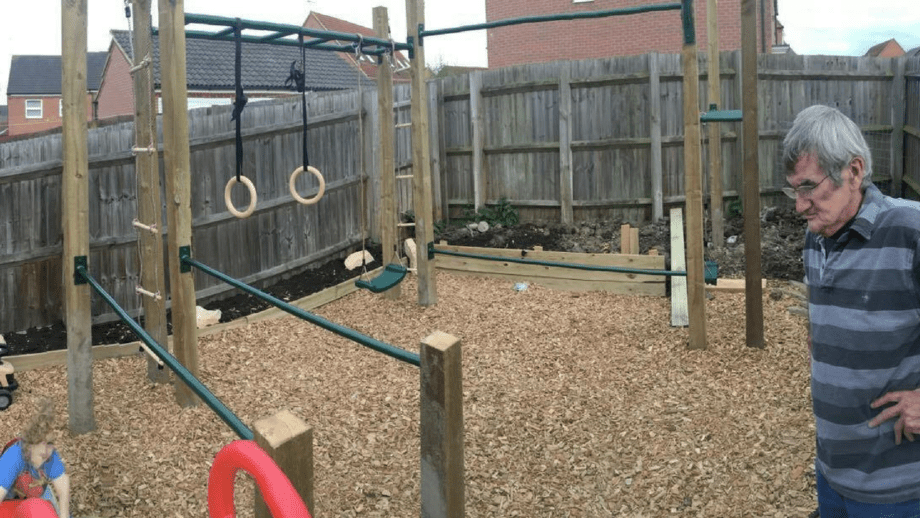
Training in a home gym is awesome, but being able to work out in the fresh air is one of the best feelings there is. One of our readers built and detailed how he built one of the most epic outdoor gyms we’ve seen.
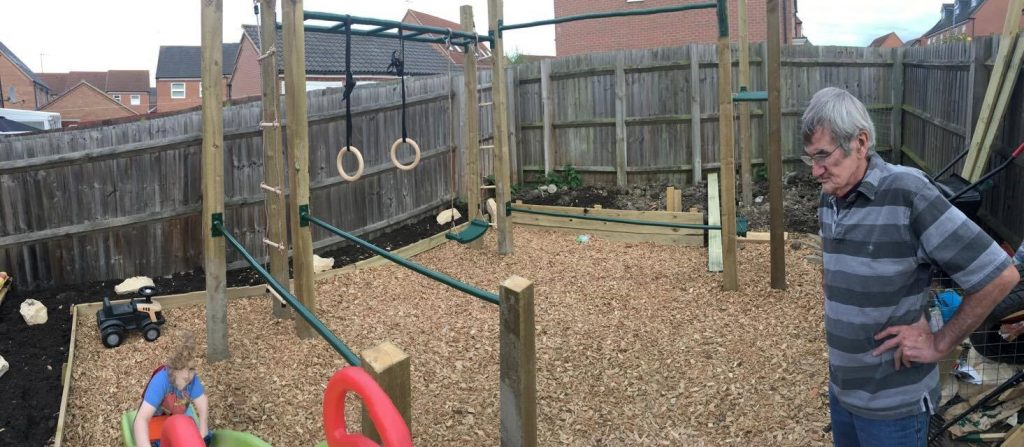
Details
- Total Cost: I estimate this cost me somewhere in the region of $1400 but that includes a lot of landscaping costs and also making some mistakes custom ordering items.
- Total Time: I thought it would take 3 days but it genuinely took around 3 weeks but that is while holding down a full-time job and trying to be a Dad.
Problems Faced
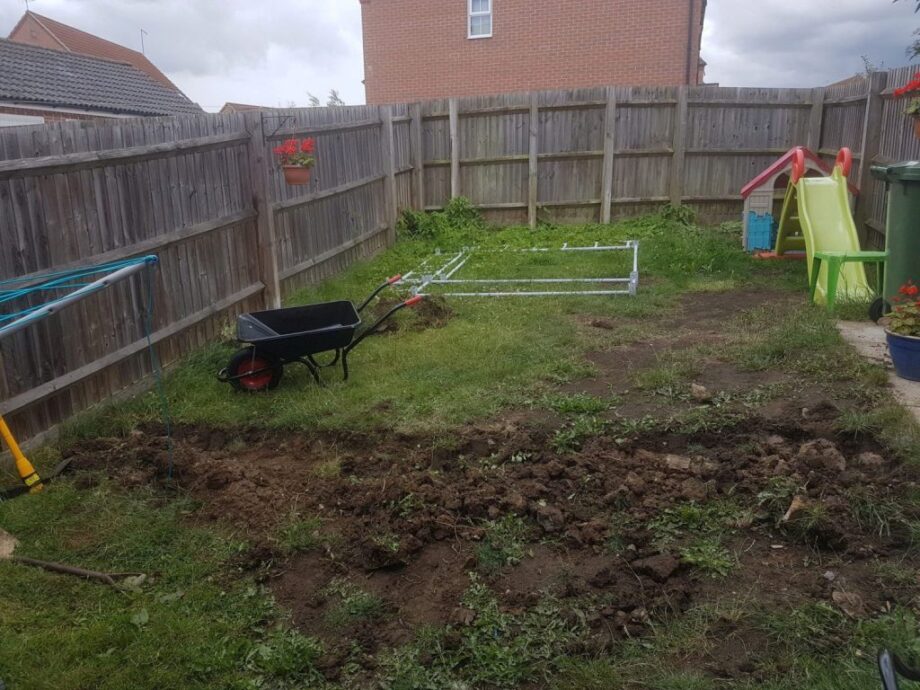
- The garden had a severe slope being on a newly built housing estate on a quarry.
- The soil is simply clay. Nothing else. It is thick, horrible stinking clay which goes rock solid in summer and is a quagmire in winter. Weeds grow like crazy.
- Having three children, the garden was filled with kids toys which all needed moved.
- I work away Monday to Friday and could only work at weekends.
- I have zero DIY experience.
Instructions
- I knew I needed a flat area so I did some measurements and decided to build a retaining wall about half way up the garden.
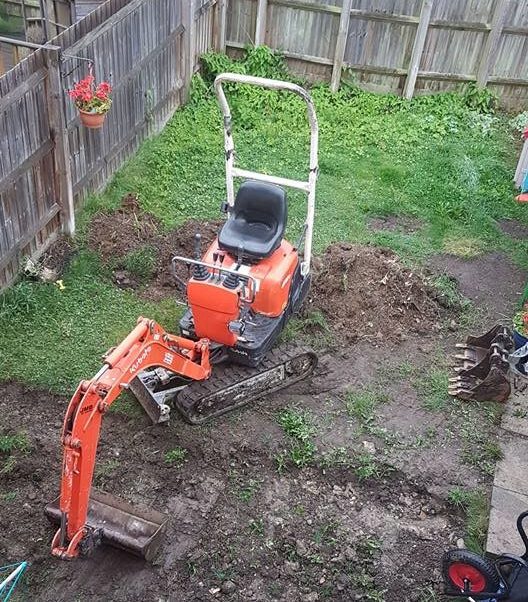
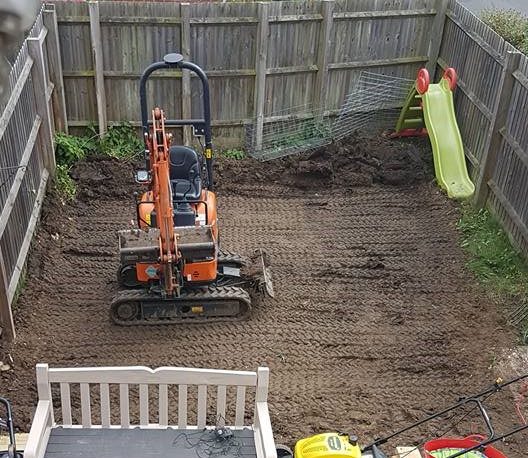
- I bought a shovel and started digging. After 3 hours of labor, I decided to Google diggers for hireand found a Micro digger for $100 a day. It is designed to get through small spaces so I booked that bad boy.
- I searched YouTube How to Drive a Digger and went to town.
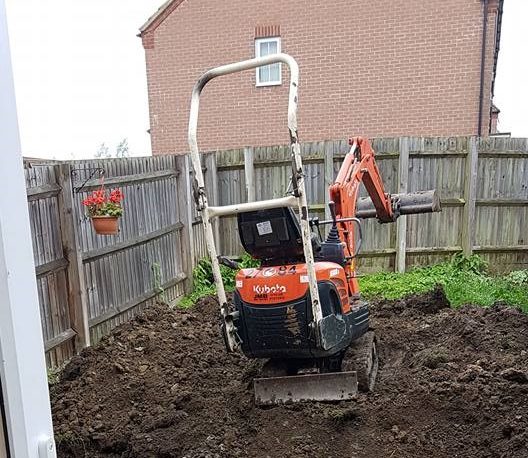
- I basically scraped all of the clay from the bottom of the garden and dumped it in the top for later.
- Sent the digger back.
- I then decided what to do with the lower area and spent a few days researching “retaining walls”. I didn’t trust my brickwork and clay is notorious for drainage problems which I read destroys walls so I googled Alternatives to Retaining Walls.
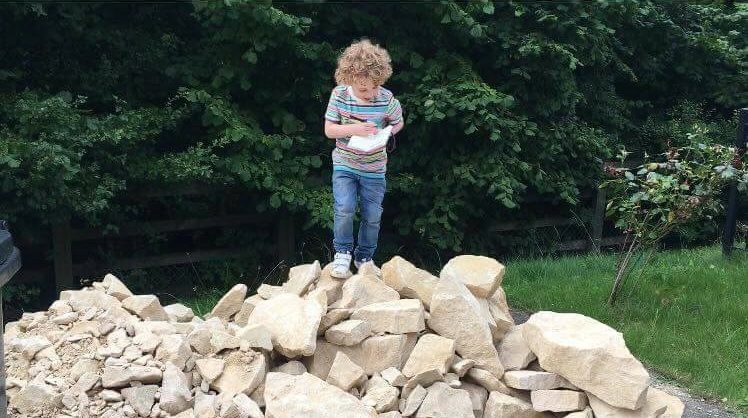
- After considering a railway sleeper wall I finally settled on a gabion which is used for holding back rivers without any need for supports/concrete/masonry.
- I got on eBay and found some gabions the size I needed for $80. Bought those.
- I googled “gabion rock” and found that it costs a fortune to deliver until I remembered a quarry in my local area so I rang them.
- They did not know what a gabion was but they did say they want rid of 200mm rock they have lying around and they would sell it at $10 a ton! Winner!
- I hired a tipper van for $100.
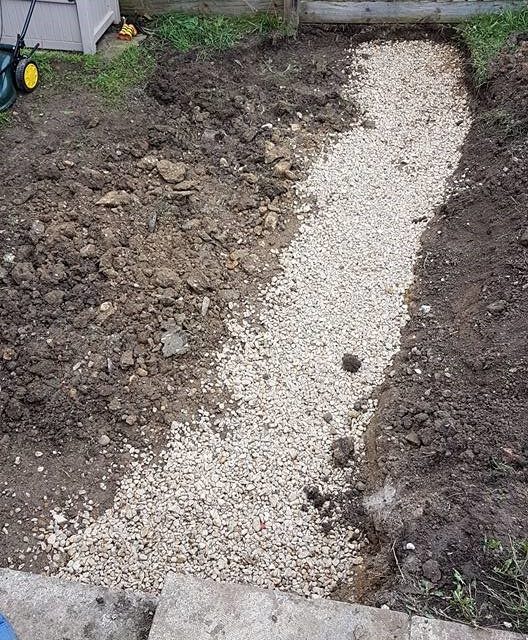
- Drove to the quarry six times and got six ton and dumped it on my driveway.
- I built the gabions in place in the garden (4.5 meters by 1 meter and 0.5 meters in width and 1 meter in height)
- I carted all 5 tons of rock into the gabions by hand using a wheelbarrow.
- Now I had a retaining wall and no idea how to proceed.
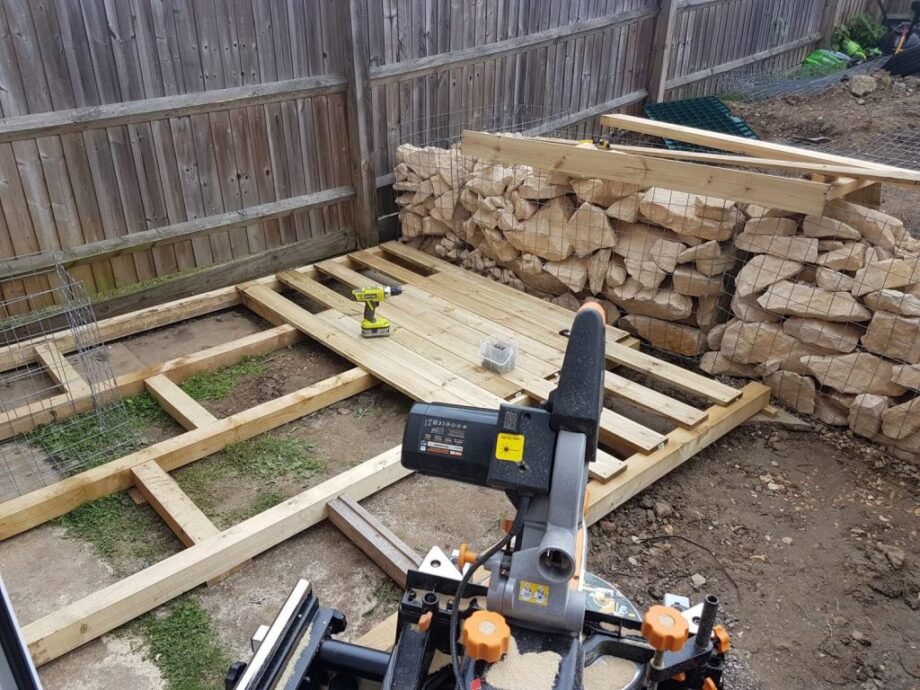
- I decided to deck the lower area and so bought some decking, joists etc and ($380) and a Mitre Saw ($150).
- Googled How to Lay Decking.
- Googled How not to cut off fingers with Mitre Saw.
- I laid the bearers/joists 500mm apart and began to get the deck in place.
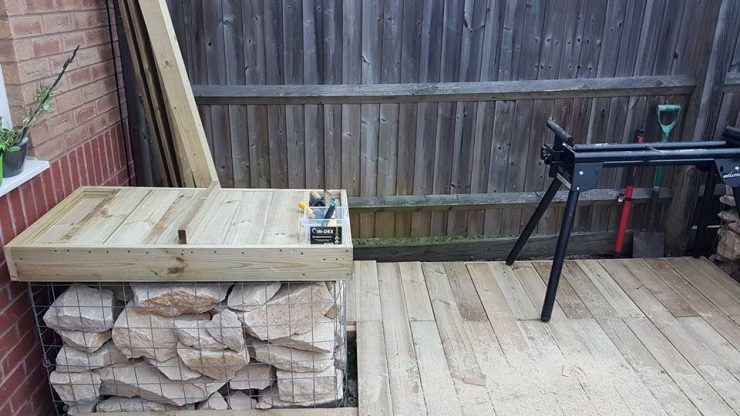
- I designed a custom for the top of the gabions to stop the kids running/sitting on the wire cages.
- I used excess decking boards to make the frame and deck area on the gabions and spent 3 hours putting into place the wire gabions that had “bulged” with rock.
- I took a few days off.
- I designed a custom for the top of the gabions to stop the kids running/sitting on the wire cages.
- I used excess decking boards to make the frame and deck area on the gabions and spent 3 hours putting into place the wire gabions that had “bulged” with rock.
- I took a few days off.
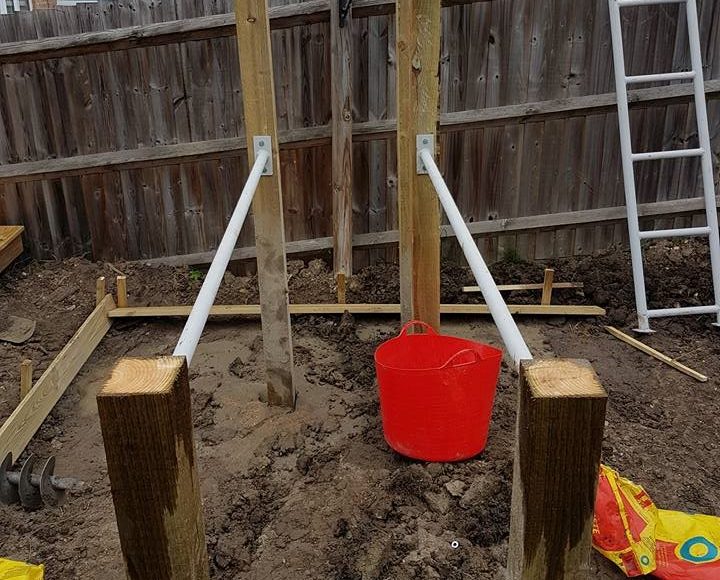
- Rethought my strategy and decided that experimenting is the ally of success.
- Dug the deepest hole I could. Smashed two house bricks as ballst and lobbed them in then installed the post and half filled the hole with water.
- Dumped POSTCRETE mix into the hole which is concrete and ballast that hardens in 2 mins and goes solid in 15 minutes.
- Sat back and prayed.
- Wobbling was at a minimum….success!!!
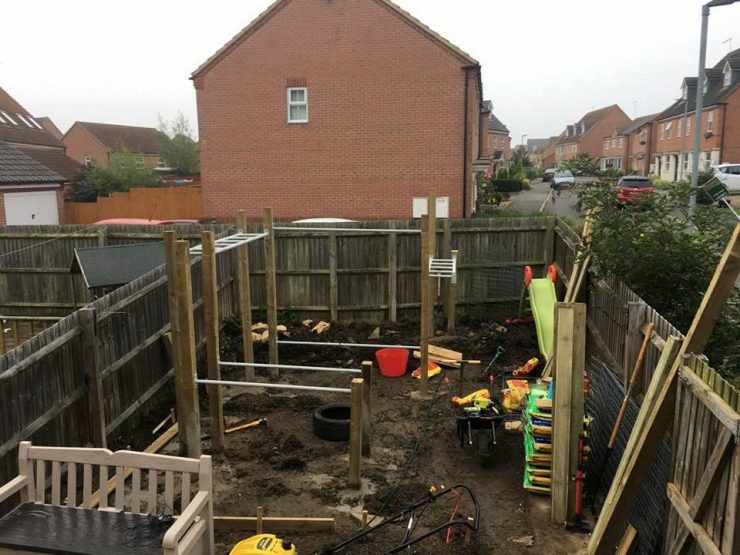
- Installed the Olympic Parallel Bars, but put them 56 centimeters apart. Used 75mm coach bolts to hold the bars in place.
- Most PostCrete and waited…
- Used the Olympic bars the next day and everything worked fine. No swaying.
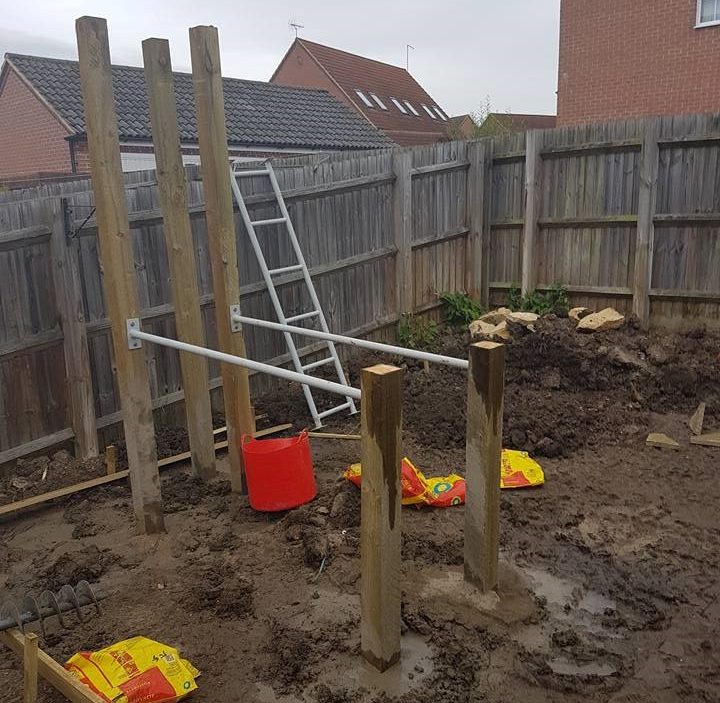
- Installed the rest of the bodyweight gym.
- Ordered 2 tons of bark chippings for the floor certified for kids play areas ($150)
- Added weed membrane to the area ($30)
- Made a border out of excess decking.
- Filled the border area with $80 (700 liters of compost)
- Painted the entire metal area with HammeRite Green ($20)
- Spread the bark chippings and let the kids go to town.
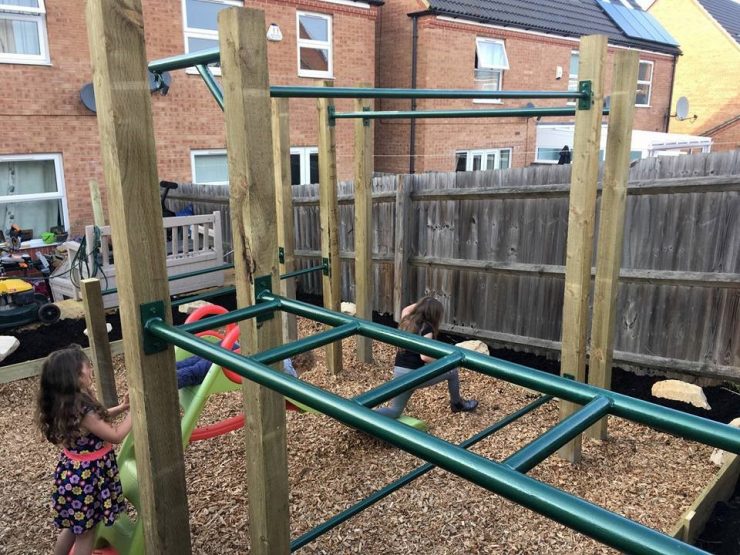
- Added Olympic rings ($30) and two swings ($20) and also some climbing ladders ($20)
- Sat back and relaxed.
