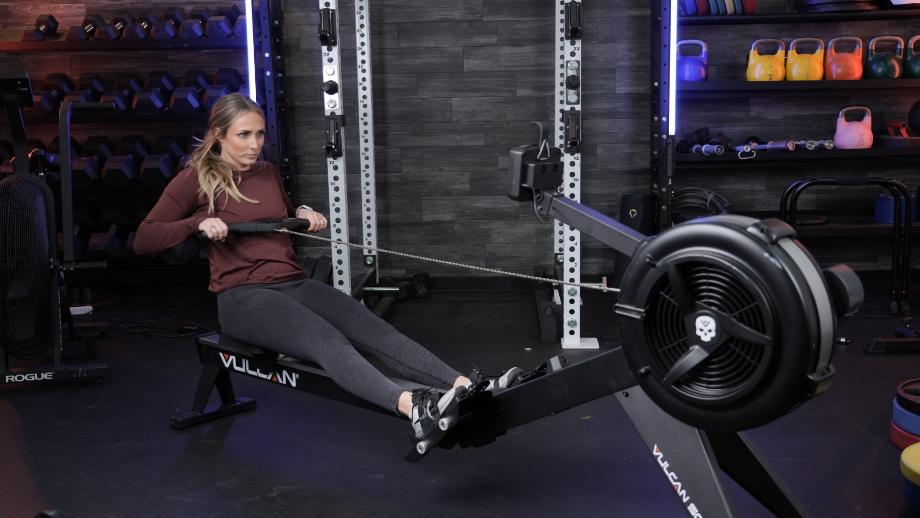
It may not always seem obvious why someone would want to create their own homemade gym equipment, but if you’re handy and enjoy building your own equipment through woodworking or combining found parts, it might save you money on home gym essentials.
With squat stands and dumbbells already popular in the DIY community, another option is rowers. As a former CrossFit gym owner, rowing machines were a staple to my gym’s programming, getting a full-body cardio workout in a short time.
The best rowing machines can feel like a huge investment, but are you really saving that much money if you build your own DIY rowing machine?
RELATED: DIY Squat Rack Guide
This guide will help you decide the best option for your goals. Is building your own erg financially savvy? And if you go this route, how do you start? I’ll go over the best DIY methods to consider as well as the benefits of having a rowing machine in your home gym.
Grab a front row seat!
Should You Build a DIY Rowing Machine?
I spoke to Sam “AsSAMbly” Presley, GGR operations manager and DIY expert, about the prospect of building my own rowing machine. My main concern was: Is it even worth it? With budget rowing machines under $300 fairly prevalent, would I be saving money?
Sam replied, “My personal opinion is that by the time you purchase all the supplies and take the time to do it, you’re not saving enough money to warrant the time it takes to build out a rowing machine. You’re probably better off just buying one of the $150 rowers off of Amazon.”
RELATED: Best Budget Home Gym Equipment on Amazon
Indeed, with the cost of wood, pulleys, railing, elastic rope, wheels for the seat, and screws, you’d be approaching the $150 price point already. It may be more feasible to purchase a budget-friendly rower. Additionally, the bungee cord or resistance band used for resistance in a DIY rower will feel different than the water, flywheel, or air resistance typically used in rowing machines.
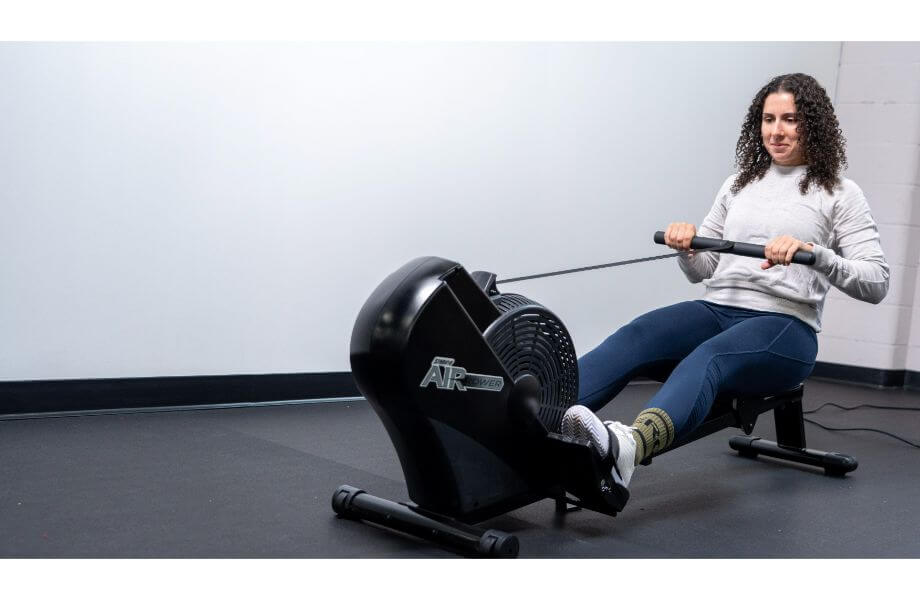
The Concept2 RowErg—considered the best rower out there—is under $1,000 and has a high resale value. Additionally, if you choose a financing option for the Concept2, it may also be a better value option than constructing a rower.
That said, if you’re here to flex your building chops, I’ll go over a couple ideas and concepts to consider for your own DIY gym rower.
Rowing Machine Alternative for Home Gym Owners
This alternative to rowing has gotten popular via social media outlets like TikTok and Instagram. Known as a gym hack for rowing, you can use a few simple pieces of gym equipment that may already be in your garage gym. This will save you money on a rowing machine for the time being…but if you don’t have most (or any) of this gym equipment, it won’t be an ideal build.
To set up this DIY rowing machine, you’ll need:
- A resistance band with a resistance level that you’re comfortable with
- A hex dumbbell preferably on the heavier side
- A power rack upright
- A skateboard or a scooter, dolly, or similar wheeled contraption
To begin, wrap the resistance band along the upright—toward the bottom of the post. Then, prop the dumbbell’s handle in front of the upright. Sitting on the skateboard, set your feet on the angle the dumbbell head makes, grab the resistance band, and begin to push through your legs, pulling with your arms, just like a rowing machine.
You can pull on the band itself, but I’ve also seen people run a lat pulldown bar through the resistance band to use as handles.
As a reminder, this won’t save you much money unless you already have this equipment—especially considering that the best squat racks will often cost more than a rower. However, if you already have a gym setup, this is an affordable way for beginners to hold off purchasing a rower until ready.
Components for a DIY Rower
If you’ve still got the bug to build your own indoor rowing machine, let’s break down the components to consider for this cardio machine.
Frame
The rower’s frame is essential for its performance, as it’ll support the bulk of your body weight while in use. As a DIY project, most people choose wood and lumber, either cutting from 2-inch-by-4-inch posts or cutting pieces from a thick plywood. Whichever method you use, make sure the wood is appropriately sturdy for your frame.
RELATED: WaterRower Review
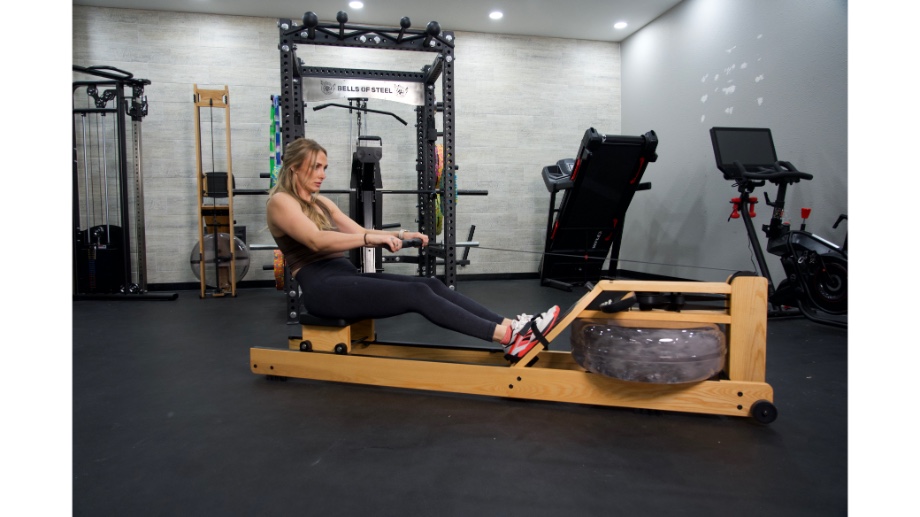
A rowing frame has three basic parts:
- Support beam: This will run the length of the rowing machine and is where the seat (and you) will be supported. The support beam will have higher edges on the side to guide the seat, so it’ll have to endure some sideways torque and tension from you leaning, so make sure your material can support it.
- Rear legs: The legs in the rear will support the majority of the load of the rower. You can construct this with two pieces of wood connected to the support beam using bolts and washers and a horizontal board to lay across the floor. Wider legs mean a more stable rowing machine.
- T-frame and front legs: The T-frame will support the front of the rower and the spinning wheel or pulley in the front. Attach the front legs to the outside of the support beam and leave space to fit your resistance mechanism.
Speaking of which…
Wheel and Resistance
When Blood, Sweat, and Tears released their song “Spinning Wheel” in 1968, I doubt it was about a rowing machine, but the lyric still stands that the “spinning wheel got to go round.”
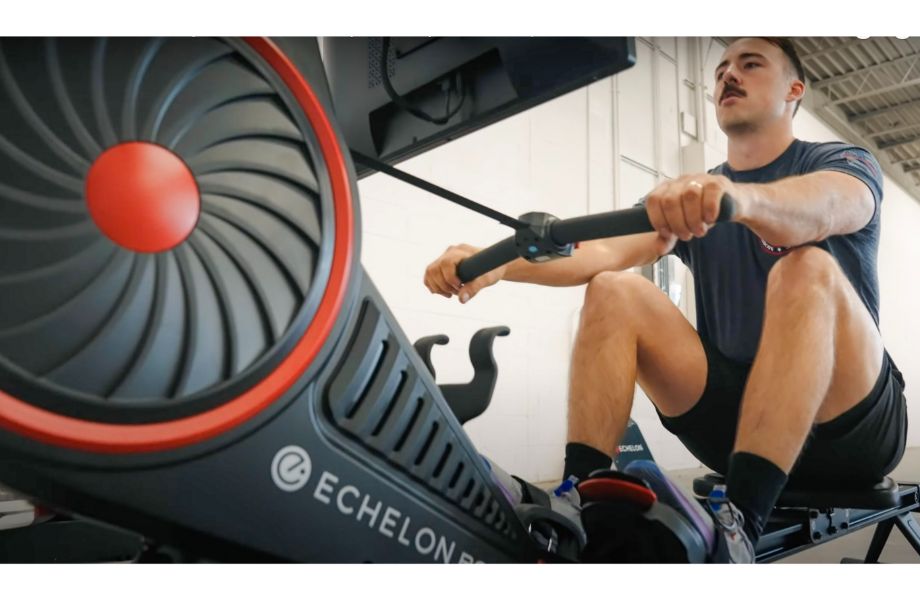
Was that an obscure reference? Maybe, but the wheel and resistance of your rower are vital to how your machine will perform during cardio workouts. Fortunately, you may be able to find the right tools in your shed or garage.
- Bicycle wheel: For the wheel, you can use an old bicycle wheel if you happen to have one. You’ll need to add air drag, which will require fitting some thick plastic or aluminum sheets to every few spokes of the wheel.
- Wooden pulley: If you don’t have a bike wheel, you can get a large wooden pulley from your local hardware store, which should work just as well; just make sure to pick a rope that fits the groove of the pulley.
- Bike chain or rope: This part will connect the handles through the pulley or bicycle wheel to the resistance cords underneath the support beam. If you have a bike wheel, a bike chain will be the easiest tool to run across the bike gears. Using a wooden pulley, you’ll want a sturdy rope that fits in the pulley.
- Two smaller pulleys: These pulleys are placed underneath the support beam, one just behind the wheel and one by the rear legs, and will continue to run the rope through the underbelly of the rower, connecting to a bungee cord.
- Bungee cord: The bungee cord will add resistance but also help return the rope and handles to the starting position of the rowing machine. It’ll run through the back pulley and connect to your rope or bike chain underneath the support beam.
For more resistance, Sam suggests using a stronger bungee cord, or you can run multiple cords underneath the rower, although they’ll all need to connect to the bike chain or rope. You can also add more plastic or aluminum sheets to your bike wheel.
Handles
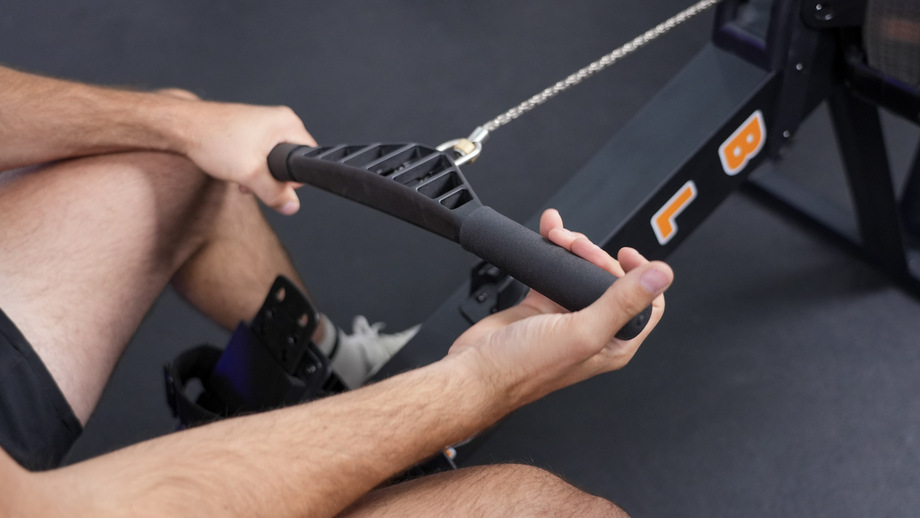
The handles can truly be just about anything you want or find. Like the home gym alternative we discussed earlier, you can use a lat pulldown bar, a straight bar, D-handles, or any other handle attachment you might use on a lat pulldown machine. You can also keep it simple with a dowel rod connected by tying the rope to the rod or adding a carabiner.
Footrests
For a rowing machine, you’ll need a spot to place and ideally secure your feet to push and pull with your legs effectively. Your footrests will simply be wooden boards large enough to fit your feet, attached on either end of the support beam at an angle to allow your feet to rest in a more natural position.
If you want to secure your feet (which I’ll admit is a safer way to go about it), you can attach heavy-duty nylon straps to the footrests you can slide your feet into. You can get nylon straps from your local hardware store.
Seat
The most basic seat will be a square MDF board with four grooved wheels underneath. Again, make sure your support beam has higher edges to act as rails for your seat, guiding it forward and back. Additionally, your support beam should have an edge on the back to ensure the seat doesn’t fall off the back of the rower.
You can add cushioning and vinyl padding to your seat if you want a bit more comfort, but it still probably won’t be on the level of the Concept2 or the Vulcan Scull Rower.
Safety First
After building your rower, make sure it’s safe to use. Cover any exposed bolts or screws. Also, if using a bike chain, you may want to cover it close to the handles or add a short length of rope to keep your hands from getting caught in the chain. Finally, you may want to cover the wheel with a wire shield to prevent any hands or fingers getting caught in the wheel while in use.
Benefits of Rowing Machines
Although I don’t recommend building your own rowing machine (for most folks), I do still recommend a cardio machine like a rower because of the multiple benefits you can get from rowing machine workouts.
You’ll Get a Full-Body Workout
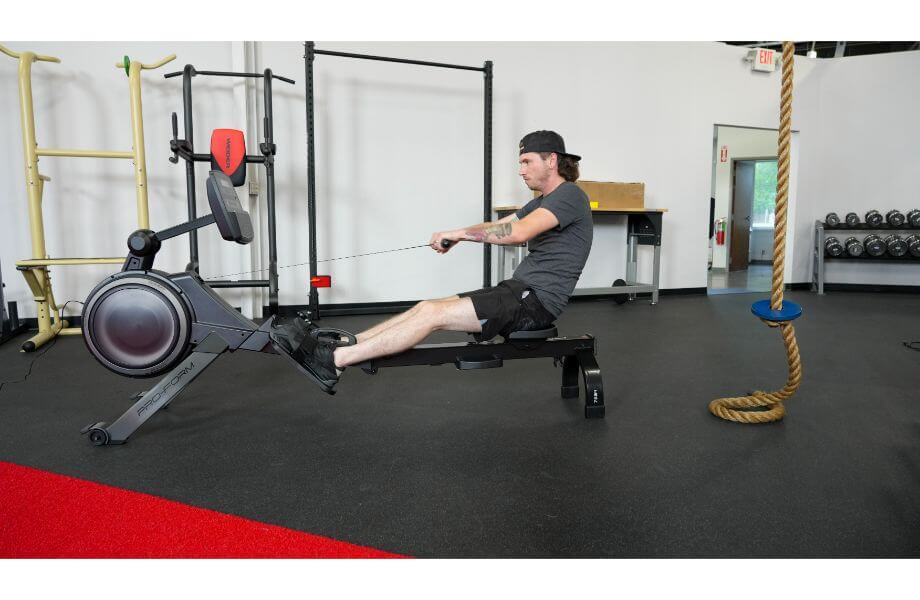
The big thing about rowing machines is that they engage the entire body. You’re working your upper body by pulling with your arms and engaging your legs and lower back by leaning forward and backward. A rowing machine is a fantastic option if you’re looking for a fast and inexpensive way to engage your cardiovascular system and several muscle groups.
RELATED: Best Home Gym Under $500
Helps Improve Cardiovascular Health
Like treadmills, exercise bikes, and elliptical machines, rowers can increase your cardio output1, linked to health benefits2 such as a lower resting heart rate and blood pressure. Regular aerobic exercise, like rowing, has also been linked to reducing your risk of heart disease3.
Offers Light Resistance Training
Rowing isn’t just for cardio, though. The water, flywheel, or air resistance of a rowing machine allows a rower to double as resistance training. Resistance training has been shown to build strength as well as muscular endurance4. Sure, it may not build as much muscle strength and muscle as the back squat, but it’ll go a long way in your hypertrophy training.
DIY Rowing Machine: Final Thoughts
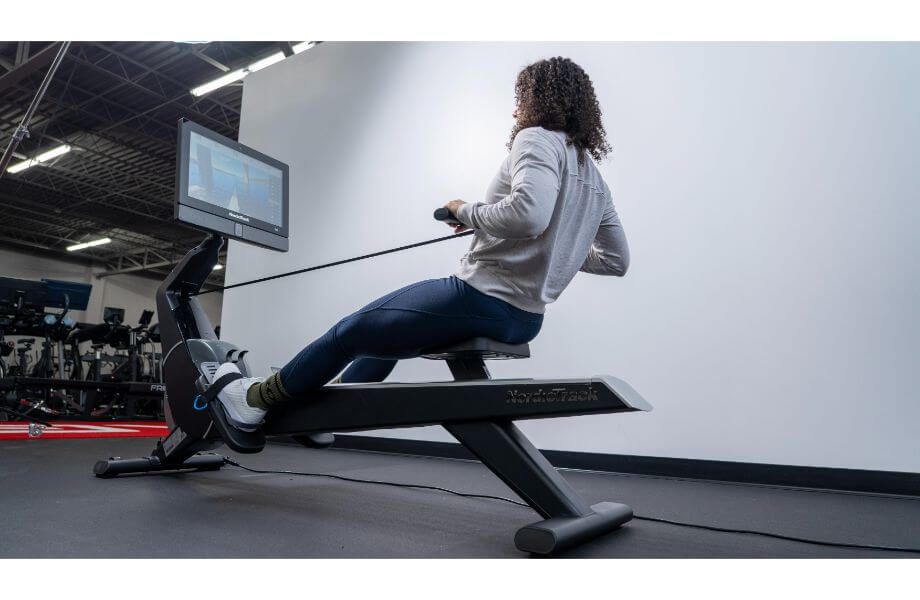
If you love to build things for your gym, unfortunately, a DIY rowing machine probably isn’t the best option for you. After the cost of materials and the time investment you put in, you’ll spend about as much as you would for a budget-priced rower. With that in mind, here are some things to think about if you’re still wanting to be handy with cardio equipment:
- Make sure that your wood and lumber is strong enough to support you, and that the beam is long enough for you to extend your legs completely.
- If you use a bike wheel, add some resistance with an aluminum sheet affixed to the spokes.
- Use bungee cords to increase the resistance of your rower.
- Make sure your rower is safe to use after building by covering any exposed screws or bolts and shielding your rowing wheel.
DIY Rowing Machine: FAQs
How can I mimic a rowing machine at home?
If you have a home gym, one of the easiest ways to mimic a rowing machine is to use a resistance band attached to an upright. Sitting on a skateboard or similar wheeled board, you can simply push back and forth with the legs, pulling with the arms. If you have a low-row cable machine, you can also use the cable machine as resistance.
How many minutes should I row each day?
Rowing machine workouts can vary based on intensity, impacting the length of time you should be rowing. That said, any length of time is better than no time. For beginners, I’d say 15 to 20 minutes of rowing is an ideal goal. More advanced rowers can aim for 30 to 40 minutes, with different intervals of high, low, and moderate intensity throughout the workout.
RELATED: Rowing Workouts For Beginners
Also, I wouldn’t recommend rowing every day since incorporating rest days is a great way to optimize your recovery in between workout sessions.
Are homemade rowing machines as efficient as commercial ones?
Unless you have a flywheel lying around, a homemade rowing machine may have a different feel than a commercial rower. Also, homemade rowing machines are typically not a cost-effective option. However, both kinds of rowing machines will train the same muscle groups and work on your cardiovascular endurance, making one just about as efficient as the other.
References
- Horn, P., Ostadal, P., & Ostadal, B. (2015). Rowing increases stroke volume and cardiac output to a greater extent than cycling. Physiological research, 64(2), 203–207. https://doi.org/10.33549/physiolres.932853
- Nystoriak, M. A., & Bhatnagar, A. (2018). Cardiovascular Effects and Benefits of Exercise. Frontiers in cardiovascular medicine, 5, 135. https://doi.org/10.3389/fcvm.2018.00135
- Mersy D. J. (1991). Health benefits of aerobic exercise. Postgraduate medicine, 90(1), 103–112. https://doi.org/10.1080/00325481.1991.11700983
- Grgic, J., Schoenfeld, B. J., Davies, T. B., Lazinica, B., Krieger, J. W., & Pedisic, Z. (2018). Effect of Resistance Training Frequency on Gains in Muscular Strength: A Systematic Review and Meta-Analysis. Sports medicine (Auckland, N.Z.), 48(5), 1207–1220. https://doi.org/10.1007/s40279-018-0872-x


