Want a TRX system in your home gym but don’t want to spend a lot of money? Below we go over the steps for a Monkii Bars DIY. This DIY suspension trainer project is one that even the least handy person could handle. All you need is a few pieces of equipment from your local hardware store.
RELATED: A Comprehensive DIY Gym Equipment Guide
(I actually reached out to Wild Gym, the creators of Monkii Bars, to find out why the product is no longer online. They responded and said, “We actually had to discontinue the MB2 a few years ago due to being unable to source one of the components. We are hoping to redesign it in the near future. We do have the Pocket Monkii 2 in stock, which is a more portable, compact version of the MB2. It does have some differences, mostly in that the MB2 had independent straps and the PM2 has a single strap between the handles.”)
Monkii Bars DIY Video Tutorial

Why DIY Monkii Bars?
Monkii bars, like gymnastics rings, are a type of suspension trainer often used during calisthenics. They’re especially useful for upper-body and on-the-go exercises. While the ones offered on wildgym.com (previously monkii.co) are versatile and functional, they may not be a cost-effective choice for everybody.
RELATED: DIY Crossover Symmetry
Following Wild Gym’s very successful Kickstarter campaign and the launch of the Monkii Bars 2, they did something most companies don’t do: They encouraged individuals who found their products too expensive to create DIY Monkii Bars. However, they also wanted them to do so correctly. As a result, they contacted Coop, the founder of Garage Gym Reviews, so he could show people how to build them safely at home and in a way that would last a long time and hold up to the rigors of strength and bodyweight training.
So for those who aren’t yet ready to splurge on suspension training, Monkii Bars DIY is an excellent alternative.
Costs Less Than $16
One of the main reasons you should create DIY Monkii Bars is because it’s very affordable to do. JakeOfAllTrades created his own for $40, but you can make them for even cheaper than that. In fact, Coop spent $15.77 to buy all of the materials he needed to create one. And if you’re willing to take the time and bargain shop, you could probably do it for even less.
When Wild Gym did sell the Monkii Bars 2, they cost roughly $100 to $130, and today the Pocket Monkii is currently $95. So as Coop says, “If you don’t want to pay for TRX, you could make a pair of these.”
A Versatile TRX System
Monkii Bars are small, which makes them some of the best compact exercise equipment. They’re a convenient way to get a workout done wherever you are.
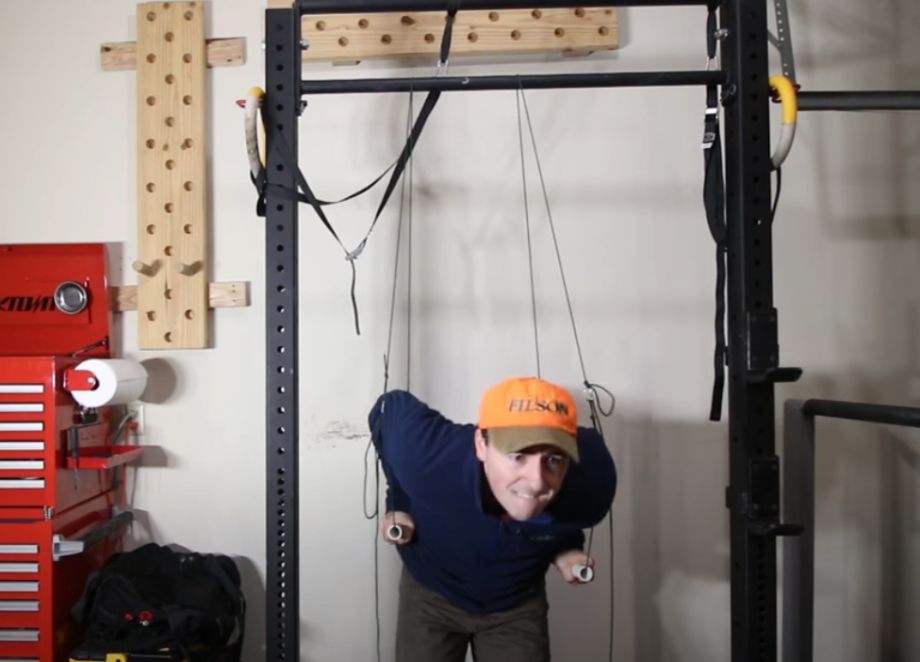
Coop completed dips with his DIY Monkii Bars by attaching them to his pull-up bar. They were still stable even when he put his full body weight on just one of the PVC bars.
Coop says, “There are all kinds of things you can do with them. These things are strong.” For example, you can perform:
- Burpees
- Tricep extensions
- Push-ups
- Reverse flies
- Squat
And all you need is a pull-up bar or door anchor. This is quite literally a jack-of-all-trades training system as long as you’re not afraid to get creative.
RELATED: DIY Pulley System
Customizable
With the Monkii Bar 2, sometimes the webbing between the handles was just too short, so they wouldn’t be long enough to put on a branch. As a result, it forced many people to buy one of their pricey outdoor anchors. Fortunately, you don’t have to worry about that if you do it yourself. Just keep the paracord long enough so you can put it wherever you want. It’ll be like having your very own portable gym.
A Simple, But Not Perfect Solution
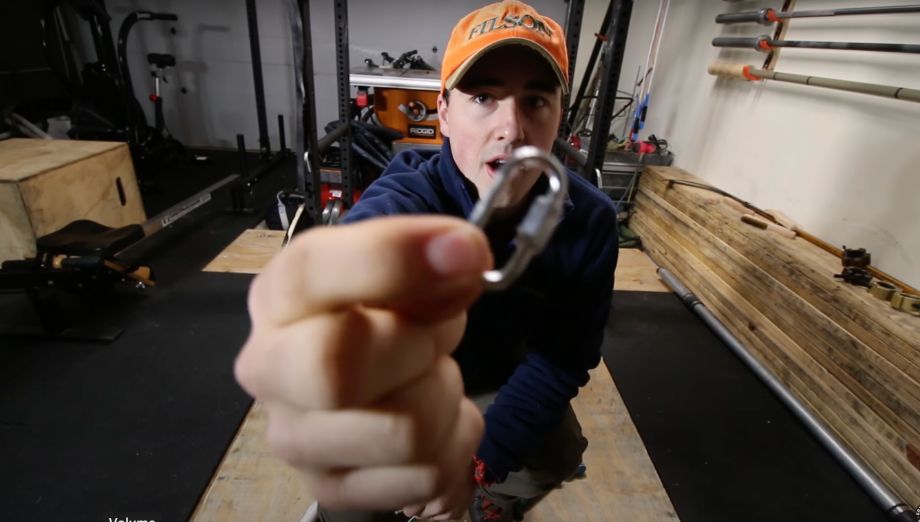
One of the drawbacks that Coop mentioned during his review of the DIY Monkii Bars project is that it doesn’t have the nifty locking piece or adjuster that the commercial product has. Instead, the DIY one uses a simple carabiner. This makes it harder for people to dial in the settings and adjust it at all when using it. It is important to know “the adjustability on your piece is not going to be the same,” according to Coop. But this slight hiccup should not get in the way of the basic functionality of this suspension system.
Coop states that the heavy-duty commercial version is “definitely prettier and will probably last longer” than the DIY alternative. But this does not mean that the Monkii Bar DIY version will not do the job for most garage gym users. They definitely will hold all your body weight and even more with no problem.
Materials List
All of the equipment in this list can easily be found at your local hardware store or online shop like Amazon:
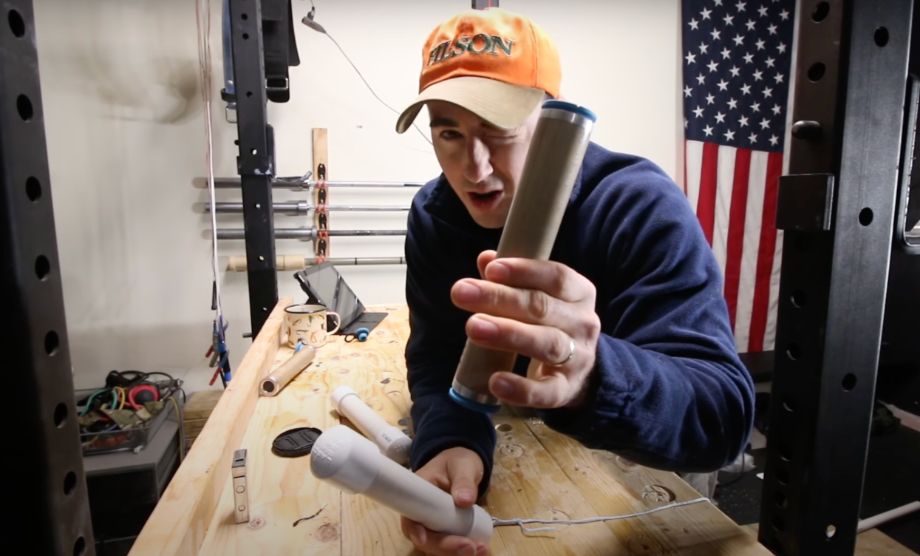
- 4-5 feet of 1” PVC pipe: This length is necessary so it can be cut up into 8-10 inch sections.
- Paracord: Coop uses 550 paracord. However, he mentions that it is not as highly rated as he would like and is not as high quality as the cord used in commercial Monkii Bars.
- Locking carabiner: The one Coop picked is rated to be more than 220 pounds. Again, commercial Monkii Bars use a different locking mechanism.
- PVC pipe caps: These caps go over instead of the punched-in version seen in the actual Monkii Bar.
Steps for DIY Monkii Bars
With the few steps outlined below, you will end up with DIY Monkii Bars with great functionality without breaking the bank.
- Cut your PVC pipe into approximately 8” to 10” sections.
- Use caps to cover the end of the PVC pipes. These caps can be screwed on and off.
- Measure the paracord to the same length as the Monkii Bars and cut, ensuring it can fit inside the PVC pipe when storing it.
- Burn the ends of the paracord to prevent fraying.
- Tie the end of the paracord using a double overhand knot or other type of knot.
- Attach a small carabiner to the end of the paracord as a connector piece, ensuring it can handle 200+ pounds. Make sure that the knot is adjustable so you can adjust the length.
- Repeat the process on the second handle.
- Tie knots on the handles to a pull-up the bar or make the structure sturdier.
- Test the strength and durability of the Monkii bars.
- Spray paint the bars for a more finished look, as the commercially available product has.
Expert Final Thoughts on DIY Monkii Bars
If you’re looking for a budget-friendly way to take your bodyweight training up a notch, try the Monkii Bars DIY. They’re an extremely resourceful and effective TRX system that costs significantly less than the commercial ones.
FAQS: Monkii Bars DIY
What are Monkii Bars?
Monkii Bars are a compact suspension training tool that you can use at home, while traveling, or even at the park.
Why should you make your own suspension trainer?
Creating your own suspension trainer, like the DIY Monkii Bars, is inexpensive and easy. In addition, when you make it yourself, you can make the paracord as long as you want, which comes in handy if you plan on getting really creative with your workouts.
What do you use Monkii Bars for?
Monkii Bars can be used for calf raises, scissor jumps, lunges, Bulgarian split squats, bear hugs, rear delt rows, and more. You can do a variety of full-body workouts.


